Blender Image to 3D: turn a photo into a mesh you can import
Image to 3D for people who finish the job in Blender. Upload a reference photo, choose how many faces you want, and download a GLB — glTF 2.0, the format Blender imports natively. No plugin, no conversion step, no account needed to look around.
One clear subject converts far better than a busy scene. A prompt does not steer this mode.
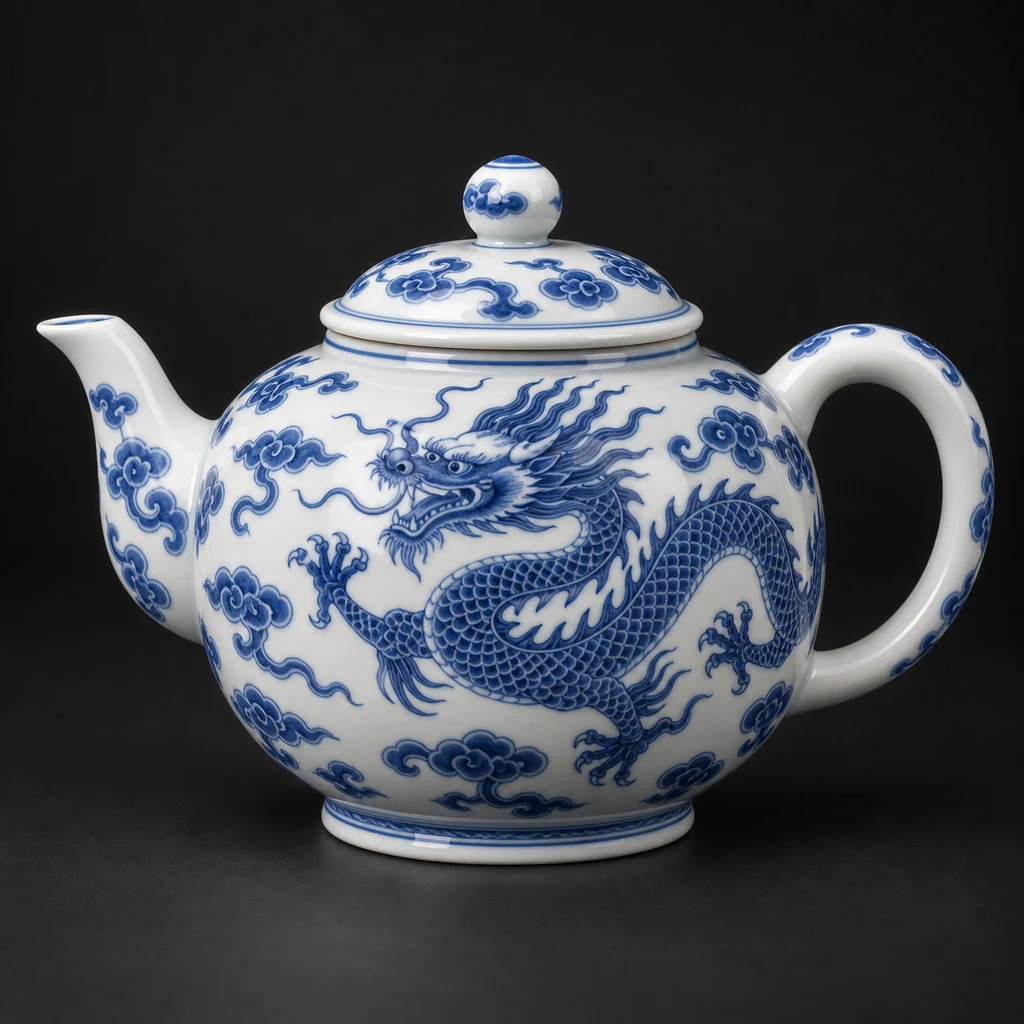
Made from this photo · Textured tier
Measured: 115s · 200,000 faces · textured · 6.4 MB
Your own result lands right here, in this viewer.
- Format
- GLB (glTF 2.0)
- Opens in
- Blender, Unity, Unreal
- Face count
- Yours, 40K – 1.5M
- Preview run
- ~35s, 6 credits
This is the same generator the rest of the site runs on — image to 3D on the left, your GLB on the right. Drag the sample to rotate it.
What a Blender user actually gets
Every figure below comes from a real run on this pipeline, not from a spec sheet. Face counts are the number Blender will show you in the statistics overlay.
- Format
- GLB (glTF 2.0)
- Faces delivered
- 100,000 requested → 100,000
- Textured run
- 115 s · 200K faces · 6.4 MB
- Preview run
- 32 s · 50K faces · bare mesh
Three steps from an image to a Blender scene
Image to 3D, then a single import. The whole loop is shorter than blocking the same object out by hand.
- 1
Generate from your image
Upload one clear photo of a single object and pick a face count between 40,000 and 1.5 million. One well-lit angle beats a busy scene — the reconstruction can only use what the image shows.
- 2
Import the GLB into Blender
In Blender, File → Import → glTF 2.0 (.glb/.gltf) and pick the file you downloaded. Blender reads GLB natively, so there is no add-on to install and no format conversion on the way in.
- 3
Keep working as usual
The mesh lands with UVs and a base colour map already attached, so it renders immediately. From there it is an ordinary Blender object: remesh it, retopologise, sculpt on top, or swap in your own shader.
Which tier fits a Blender workflow
All three write the same GLB. The difference is what rides along with the mesh and how long you wait.
Preview — blockout
Bare geometry, 50,000 faces, about 32 seconds, 6 credits. No UVs and no texture, which is exactly right when the model is a scale reference or a base you were always going to retopologise in Blender.
Textured — ship as-is
UVs plus a base colour map, face count up to 1.5 million, about two minutes. This is the one to pick when the object has to look finished the moment it appears in your viewport.
Low poly — light mesh
Textured but far lighter: a measured run asked for 40,000 faces and returned 9,100, so treat the face count as the model's decision rather than yours. Good for game-ready silhouettes; it takes about six minutes.
Credits are shared across every tier, and the pricing page states how many finished models each credit pack buys. And if you have no photo to start from, the same generator also does text to 3D, which skips hunting for a reference image altogether.
Blender image to 3D — questions people actually ask
Can I export to FBX, OBJ or STL afterwards?
Yes. Import the GLB into Blender once, then File → Export to whatever the next tool needs — FBX for Unreal, OBJ for older pipelines, STL for a slicer. We hand you GLB because it is the one format Blender reads without an add-on; everything downstream is a normal Blender export.
Do the materials survive the import?
The textured tiers ship UVs and a base colour map, and Blender wires that into a Principled BSDF on import. There is no full PBR set — no separate roughness, metallic or normal maps — so if your shot needs those, plan on authoring them over the UVs you get.
Is the topology clean enough to sculpt or animate on?
Treat it as scan-like geometry, not hand-modelled topology. It is dense and triangle-based, which is fine for rendering, 3D printing and static props. For animation or serious sculpting, run Blender's Remesh or Quadriflow first, or start from the preview tier and retopologise — that is why the bare-mesh tier costs 6 credits.
Can I send it straight to a 3D printer?
Export STL from Blender first, since most slicers do not read GLB. Textures are irrelevant to printing, so the preview tier is usually the cheaper choice. Check the mesh with 3D-Print Toolbox before slicing: a reconstructed model is not guaranteed watertight, and thin or floating parts may need repair.
Do I need to pay to try image to 3D?
Signing in with Google grants 12 free credits, enough for two 6-credit bare-geometry preview runs, and no card is required. Textured and higher-detail runs cost more credits because they require more compute.
Bring your own photo
Image to 3D takes a minute or two. Start it, and the GLB will be waiting for your next Blender session.